Store Locations
Got a Problem with your Sewing Machine?
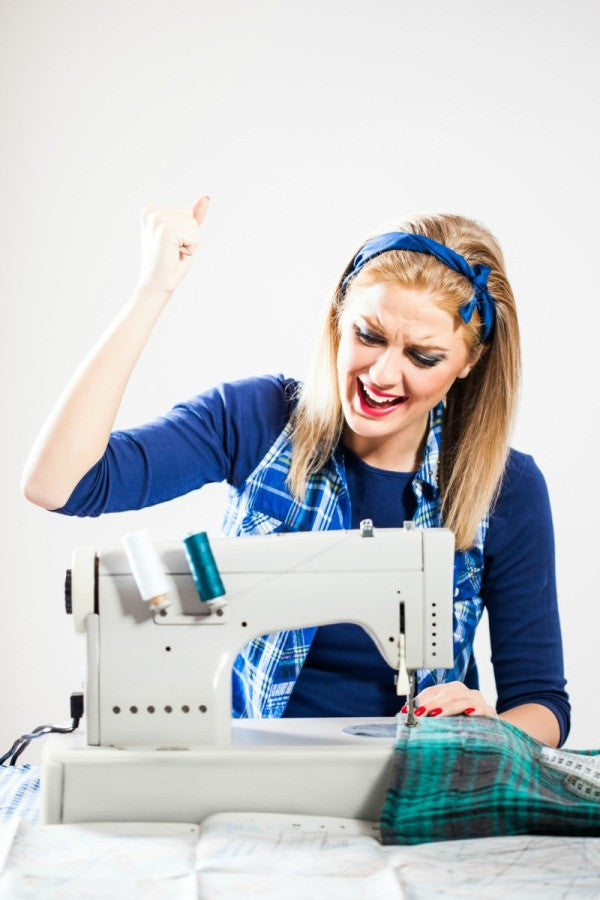
Sewing Machine Problem 101 (Part 1)
With our many years of experience dealing with sewing machines for repair, we identified the top 3 problems that hobbyist encounter with their sewing machine, most of the problems are not serious and can be remedied by your own hands! Especially thread related issues!

Problem 1: Skip Stitches!
Working with Stretchy Fabric - If you experience skip stitches only when you are working with stretchy fabrics, chances are that changing to a stretch needle will do the job just fine.
You Have a Dull Needle - When you have a dull sewing machine needle, it will experience more resistance when it is piercing through the fabric. As every stitch can only be made with precise coordination between the needle and the HOOK, a dull needle will jeopardise the relationship of the 2, causing skip stitches. Replacing your needle will do the job. For general information, every SCHMETZ needle are designed to take 6-8 hours of sewing.
Your Machine is Threaded Incorrectly - Re-tread your upper thread and ensure that it goes through the tension discs. Threads are more likely to go wrong at the U-turn points.
You are using Poor Quality Threads - Some threads may stretch unevenly and snaps easily, making your sewing much less enjoyable than it should be. LOOK FOR good quality thread and it helps to minimize skip stitches.
 Problem 2: Stitches looks too loose or too tight!
Your Tension Setting is Incorrect - You might have adjusted your tension setting by accident. Look at your TOP tension settings, a smaller number indicates less tight upper thread, vice versa, a larger number indicates a tighter upper thread.
VARY TOP Tension Setting YET Does Not Affect the End Result - If your stitches looks the same regardless of which tension setting you choose, LIKELY your tension disc is jammed. It might be caused by dirt, rust, or a faulty tension spring. In this case, you should bring your machine for a service. We have a team for that.
Your Bobbin PLACED WRONGLY - Don’t get confused by what this means, we have did a photo illustration of how should a bobbin be placed “correctly” for both top and side loading bobbins.
Top Loading Bobbins

If you have a top-loading bobbin, ensure that the bobbin is inserted (follow the bottom right diagram as shown) and that when you pull the thread, it is unwinding in an anti-clockwise fashion as shown by the white arrow!
Side Loading Bobbins

If you have a side loading bobbin, place it inside and slot the thread into the small slit at the circumference of the bobbin case, it will lead the thread into another exit. When you're done with that, check that the bobbin unwinds anti-clockwise when you pull the thread. Then you're doing it right.

Problem 3: My thread is always bunching at the bottom!
Its Not About the Bobbin Thread -Thread looping problems that occur on the bottom side of the fabric are typically issues with the upper threading, not the bobbin threading. Looping or bunching that occurs on top of the fabric tends to a problem with the bobbin threading. Ensure that your upper AND LOWER thread RUNS DEEP into THIER tension CONTROL, before you proceed onto any form of sewing.
This is the end of Part 1 of Sewing Machine Problem 101. Do stay tune for more solution from us!
If you also know of a common sewing-machine-problem that we have not put it up, please comment below or on our Facebook page and we will do a write-up for it!
Leave a comment